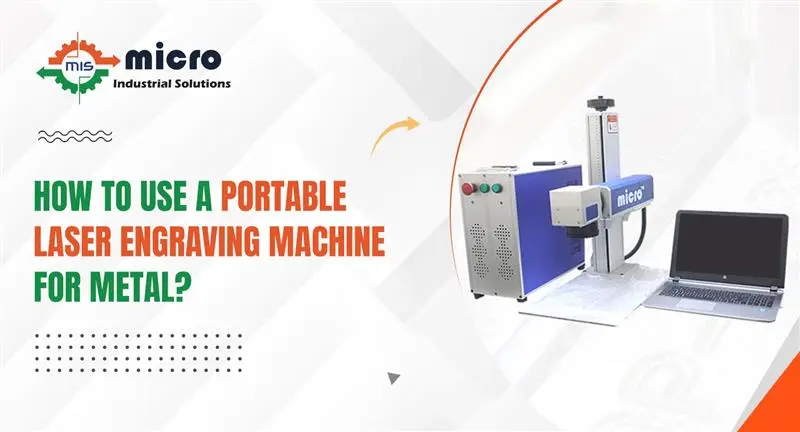
Laser engraving is one of the most effective and efficient ways of working with metal. With a few tools and the proper outline, you can complete the engraving in a matter of minutes.Using a Portable Laser Engraving Machine does not have to be complex. Once you get the hang of it, it becomes a simple and fun experience. Here’s how you do it step by step:
Step 1: Prepare your engraving setup
To keep fumes at bay, make sure your laser engraver is equipped with a ventilation system.
Read the product manual thoroughly to understand all safety concerns and the precise steps for using the machine. Failure to do so might harm not just the equipment but also your eyes, resulting in severe injury.
Next, prepare your engraving blank. Check that it fits inside the working area of your Portable Laser Engraving Machine.
Finally, you’ll need to have the appropriate safety equipment. When the laser is engaged, be careful to close the lid. For added safety, wear laser-specific safety glasses. Avoid gazing directly at the laser or its reflection, even if you are wearing eye protection.
Step 2 : Create a Design
Next, use your chosen laser engraving program to develop or prepare your design. If you’re seeking ideas to utilize, we’ve got you covered with over 1000 free laser engraving and cutting patterns. For optimal results, use black and white vector formats such as SVG, EPS, AI, CDR, DXF, or similar. Bitmap pictures, such as JPG or PNG, can also be used, although the engraving may be untidy.
Step 3: Place the Item
So you’ve set up your equipment and prepared your design. Now, set your blank on the machine’s base to prepare it for engraving. Most Portable Laser Engraving Machines contain a grid or other marks to assist you in straightening the object. You’ll figure out where to put them to achieve the optimum outcomes every time. Next, focus the laser on the surface you wish to engrave. Most reputable engravers can accomplish this automatically.
Step 4: Choose Your Engraving Settings
The final step is to open your design file in laser engraving software and configure the project settings. Consider factors such as blank thickness, power, and speed. How many passes to make?
Honestly, there is no proper response to them. Your Portable Laser Engraving Machine, engraving blank, and design all influence the optimal settings to utilize.
So, while we wish we could provide you with cheat codes to ensure consistently favorable outcomes, we simply cannot. The best thing you can do is start with your software’s default settings for your type of blank, then adjust and experiment until you discover what works best.
Step 5: Engrave
Once you’ve decided on your choices, click the button on your program or app to begin the engraving process. After it’s finished, carefully open the machine to view the findings.
Let us be honest. It’s a learning process, so don’t worry if things don’t go properly the first time. It’s annoying when you don’t achieve the precise appearance you wanted, but we want to encourage you: don’t give up. You’ll figure it out.
Conclusion
With correct setup and usage recommendations, you may easily produce professional-quality results. This portable laser engraving machine for metal is an excellent addition to your toolset, whether you’re customizing presents or producing industrial parts.